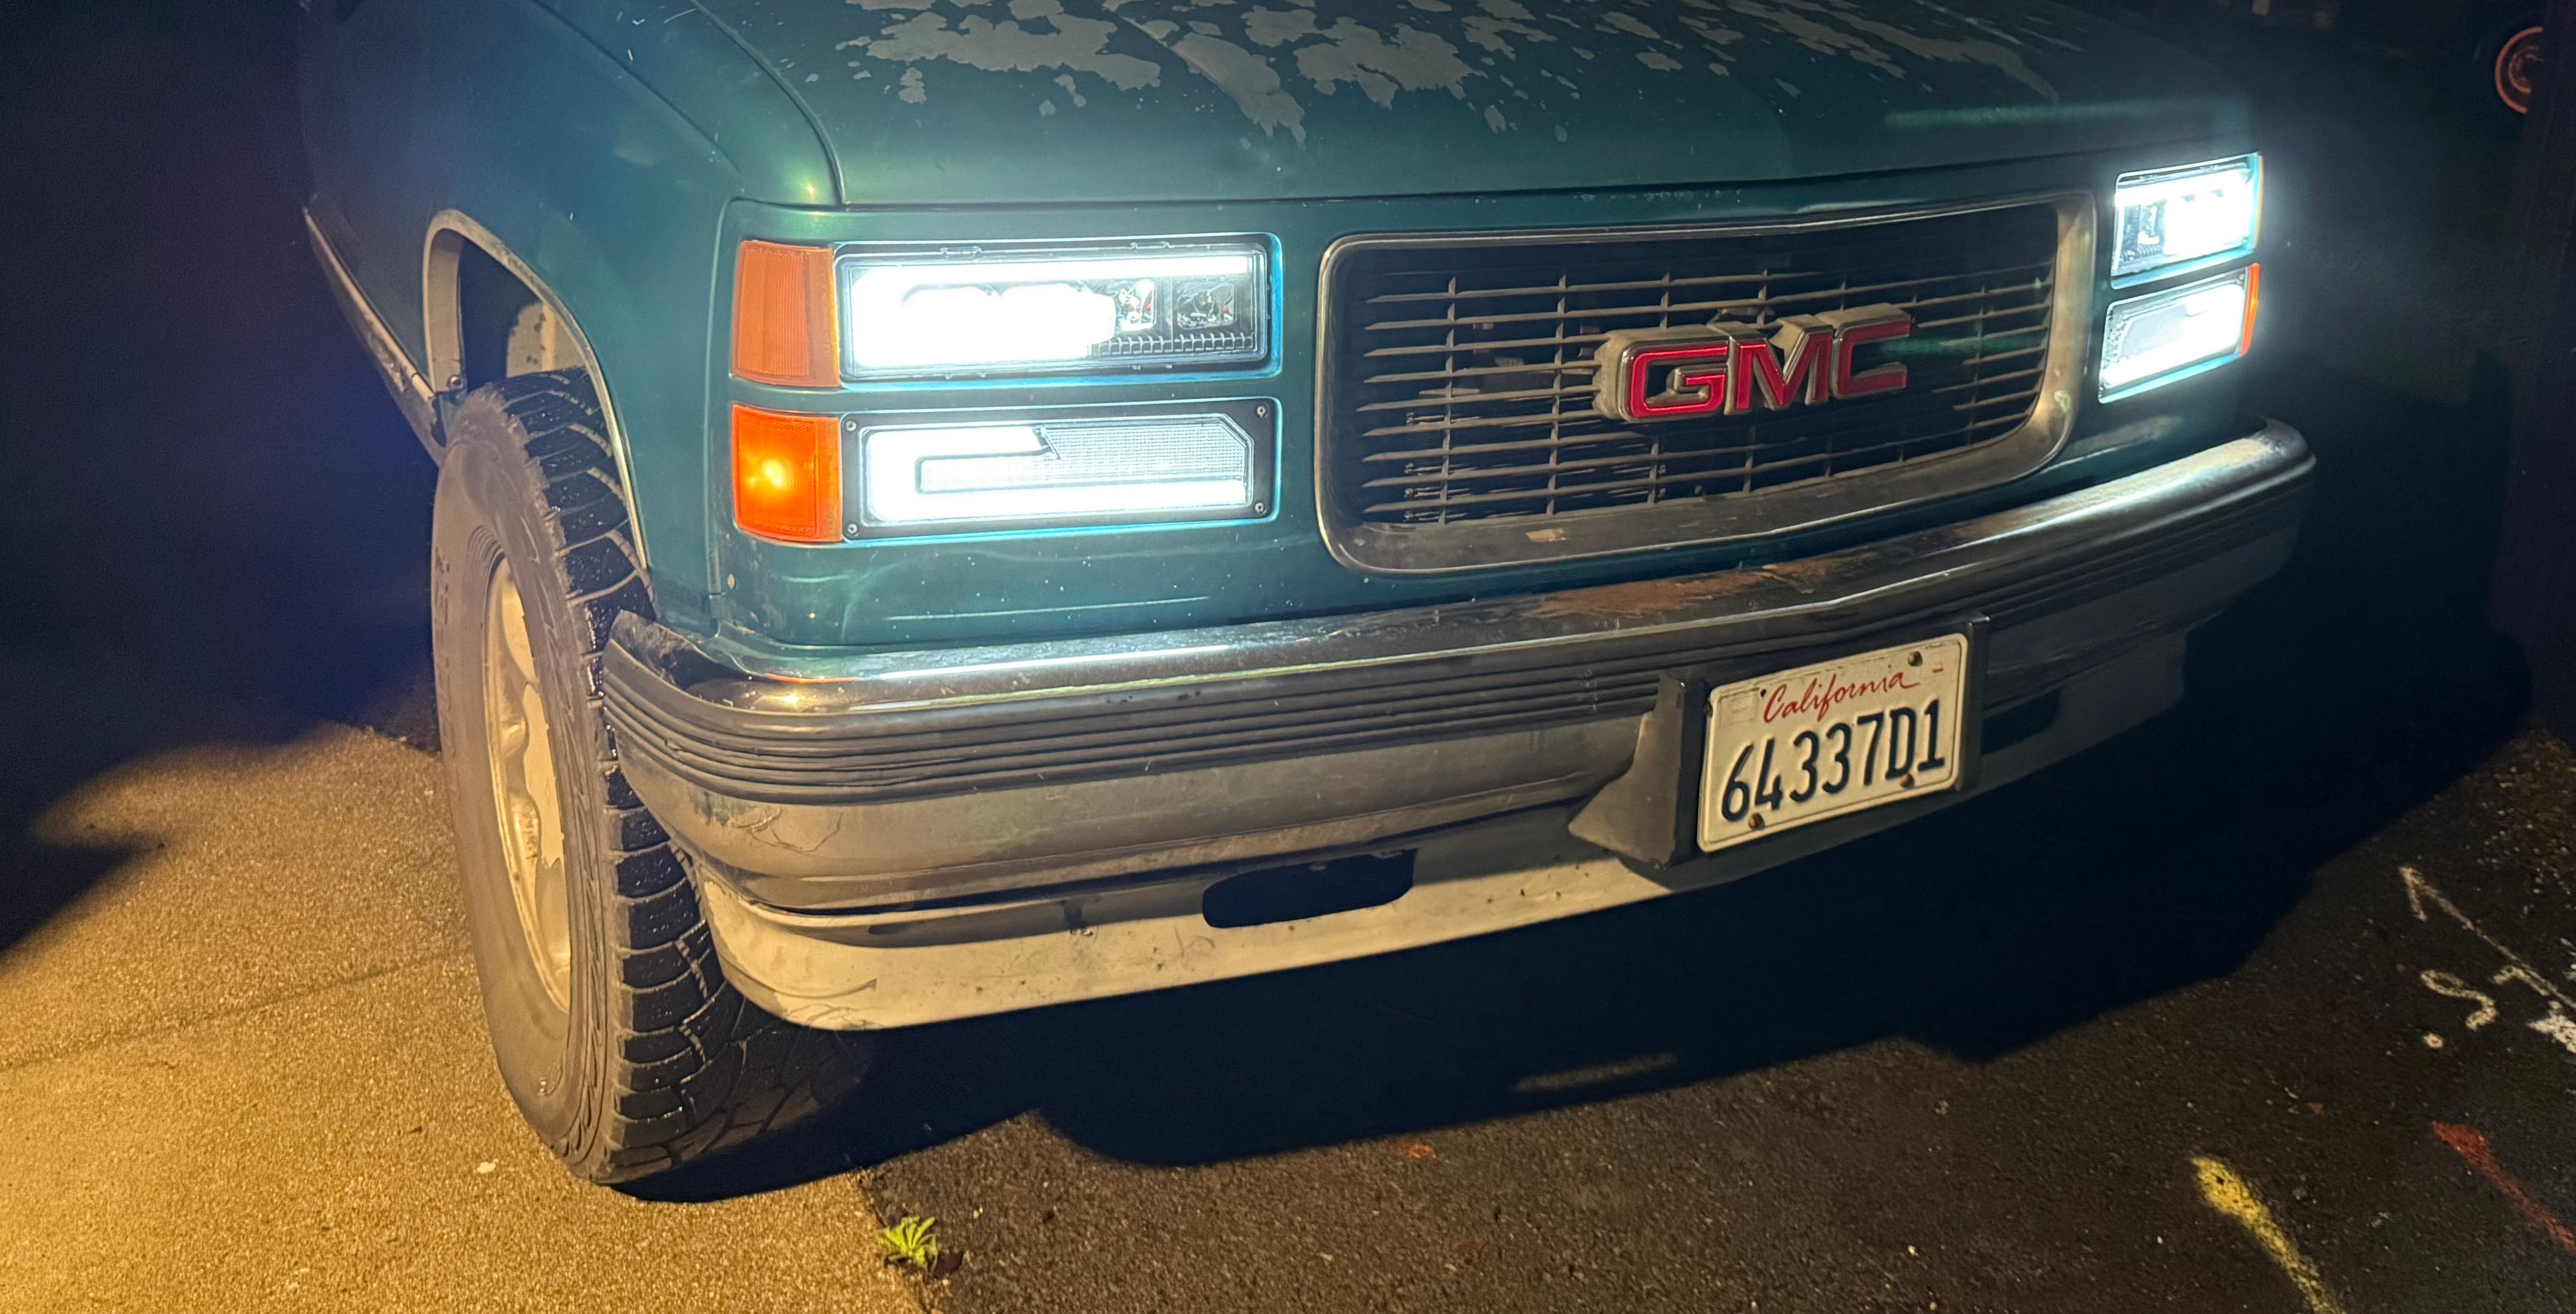
The lights fit the truck perfectly. That part was easy.
Everything else required some thinking.
Wiring
Normally when I work on something like this I keep existing connections in place until I can clearly label each point — trace it live, mark it, then swap. It's slower but you don't lose track of what goes where.
The way these lights mount made that impossible. Everything had to come out first.
We did our best to keep track. First attempt — some lights didn't come on.
We moved connections around, tried different configurations, and genuinely started wondering if I'd received a defective part. Two years of searching for the right set of lights and maybe I'd gotten a bad one out of the box.
We pushed through instead of assuming the worst.
Turns out the issue wasn't which connection went where — it was orientation. The new lights merge the indicator and headlight components into a single assembly and use the signal sent to determine function. High, low, indicator — it's all reading the same input, just interpreting it differently based on how the connector is seated.
Flip the orientation, everything works.
Once we had that sorted we ran a full functionality check before moving forward. Everything on.
Indicators
The old lights had three bolt placements up front — headlights and two indicator connections. The new lights only use two.
The documentation for the indicator wiring was, to put it kindly, vague. My brother and I are thorough people. Vague instructions on an electrical project is not something we move past quickly.
We worked through it, got the small relay boards wired correctly for the indicators, and then hit the next issue — the instructions essentially suggested leaving the relay board floating somewhere in the housing. Just... somewhere.
That wasn't happening.
It's a solid component, it should be mounted properly. We threaded bolt points and secured it correctly. If something needs to be in there, it should be in there intentionally.
The Cork
The old wiring had a third indicator connection that the new lights don't use.
I left it in.
At some point I want to swap the side reflectors for LEDs that tie into the main indicator signal — nothing excessive, just replacing something passive with something intentional. When that happens, that third connection will be exactly what I need.
But that project isn't today. And until it is, an open live connection sitting in the housing isn't acceptable either.
So — a wine cork, trimmed to fit, taped tight with electrical tape.
It sounds ridiculous. It works. The connection is sealed against moisture, protected from corrosion and shorts, and when the time comes I can pull it out in thirty seconds and get to work.
Sometimes the right solution is just practical.
Alignment
The documentation suggested setting alignment before installation.
I understand why — it's simpler to adjust a light sitting on a bench than one mounted in a truck. But it's also not how alignment actually works. You need the lights in their final position, aimed at a real surface, under real conditions. Setting them on a bench and hoping they land right once mounted is not confidence-inspiring.
So we mounted them first, then figured out alignment.
The new lights have adjustment screws on both axes. The y-axis was accessible. The x-axis wasn't — not without pulling everything back out.
We drilled access holes in the body.
It's not something I take lightly. You don't put new holes in a 30-year-old truck without thinking about it. But we sealed and painted each opening to prevent rust, and what we gained was permanent, practical access to an adjustment that will drift over time. These trucks rumble. They shake. Things go slightly out of true. Now when that happens I don't need a full disassembly — I reach in, adjust, done.
Aiming
With access sorted, we set up properly.
Painters tape on the wall at a standard headlight height for a passenger car. Truck backed up to a measured distance. Then we adjusted until the bright points of both lights sat just below that line.
The goal was simple: I can see the road. Nobody coming toward me is getting blinded.
That was the whole point of the project.
The finished result hit everything on the original list. Bright, properly aimed, modern look that still suits the truck's lines. My brother's help made the difference — he's sharp with this kind of work and having two sets of eyes on the wiring especially saved us real time.