Lead up:
- New BLTouch
- New motherboard
- New display
- New extruder
- Motherboard
- New extruder
Yeah—high hopes. But at least the core parts are there.
So briefly—why these parts?
| Part | Purpose |
|---|---|
| New BLTouch | Adds a probe to manage the Z-axis and calibrate offsets. The old one sticks and makes printing a hassle. |
| New Motherboard | Opens the door for a potential Klipper firmware upgrade (planned, but still a ways out), quieter motion, and—if I understand correctly—better control, which should mean improved print quality… even if just marginal. |
| New Display | Nicer touch display that supports both Marlin and Klipper. Also—the beeper is far less jarring. |
| New Extruder | Direct drive—filament is pushed and pulled by a stepper motor directly behind the extruder. Better control and opens the door to printing TPU (flexibles). |
Before I get into the build — the prep
Right when I ordered the parts, I immediately started printing parts. I had done my research—or so I thought—and wanted to get this upgrade done as quickly as possible. (Spoiler: it’s still in the works.)
I did some research and “negotiating” with AI, and found a printable remix that looked perfect—mounts to Enders, provides a holder for the part fan, and includes adapter pieces for my larger fan (for extruder cooling).
I spent days printing, cleaning, and prepping. Then the parts arrive, I’m excited, and I go.
Want the TL;DR? Don’t break down your printer before test fitting…
I start with the motherboard (it arrived first).
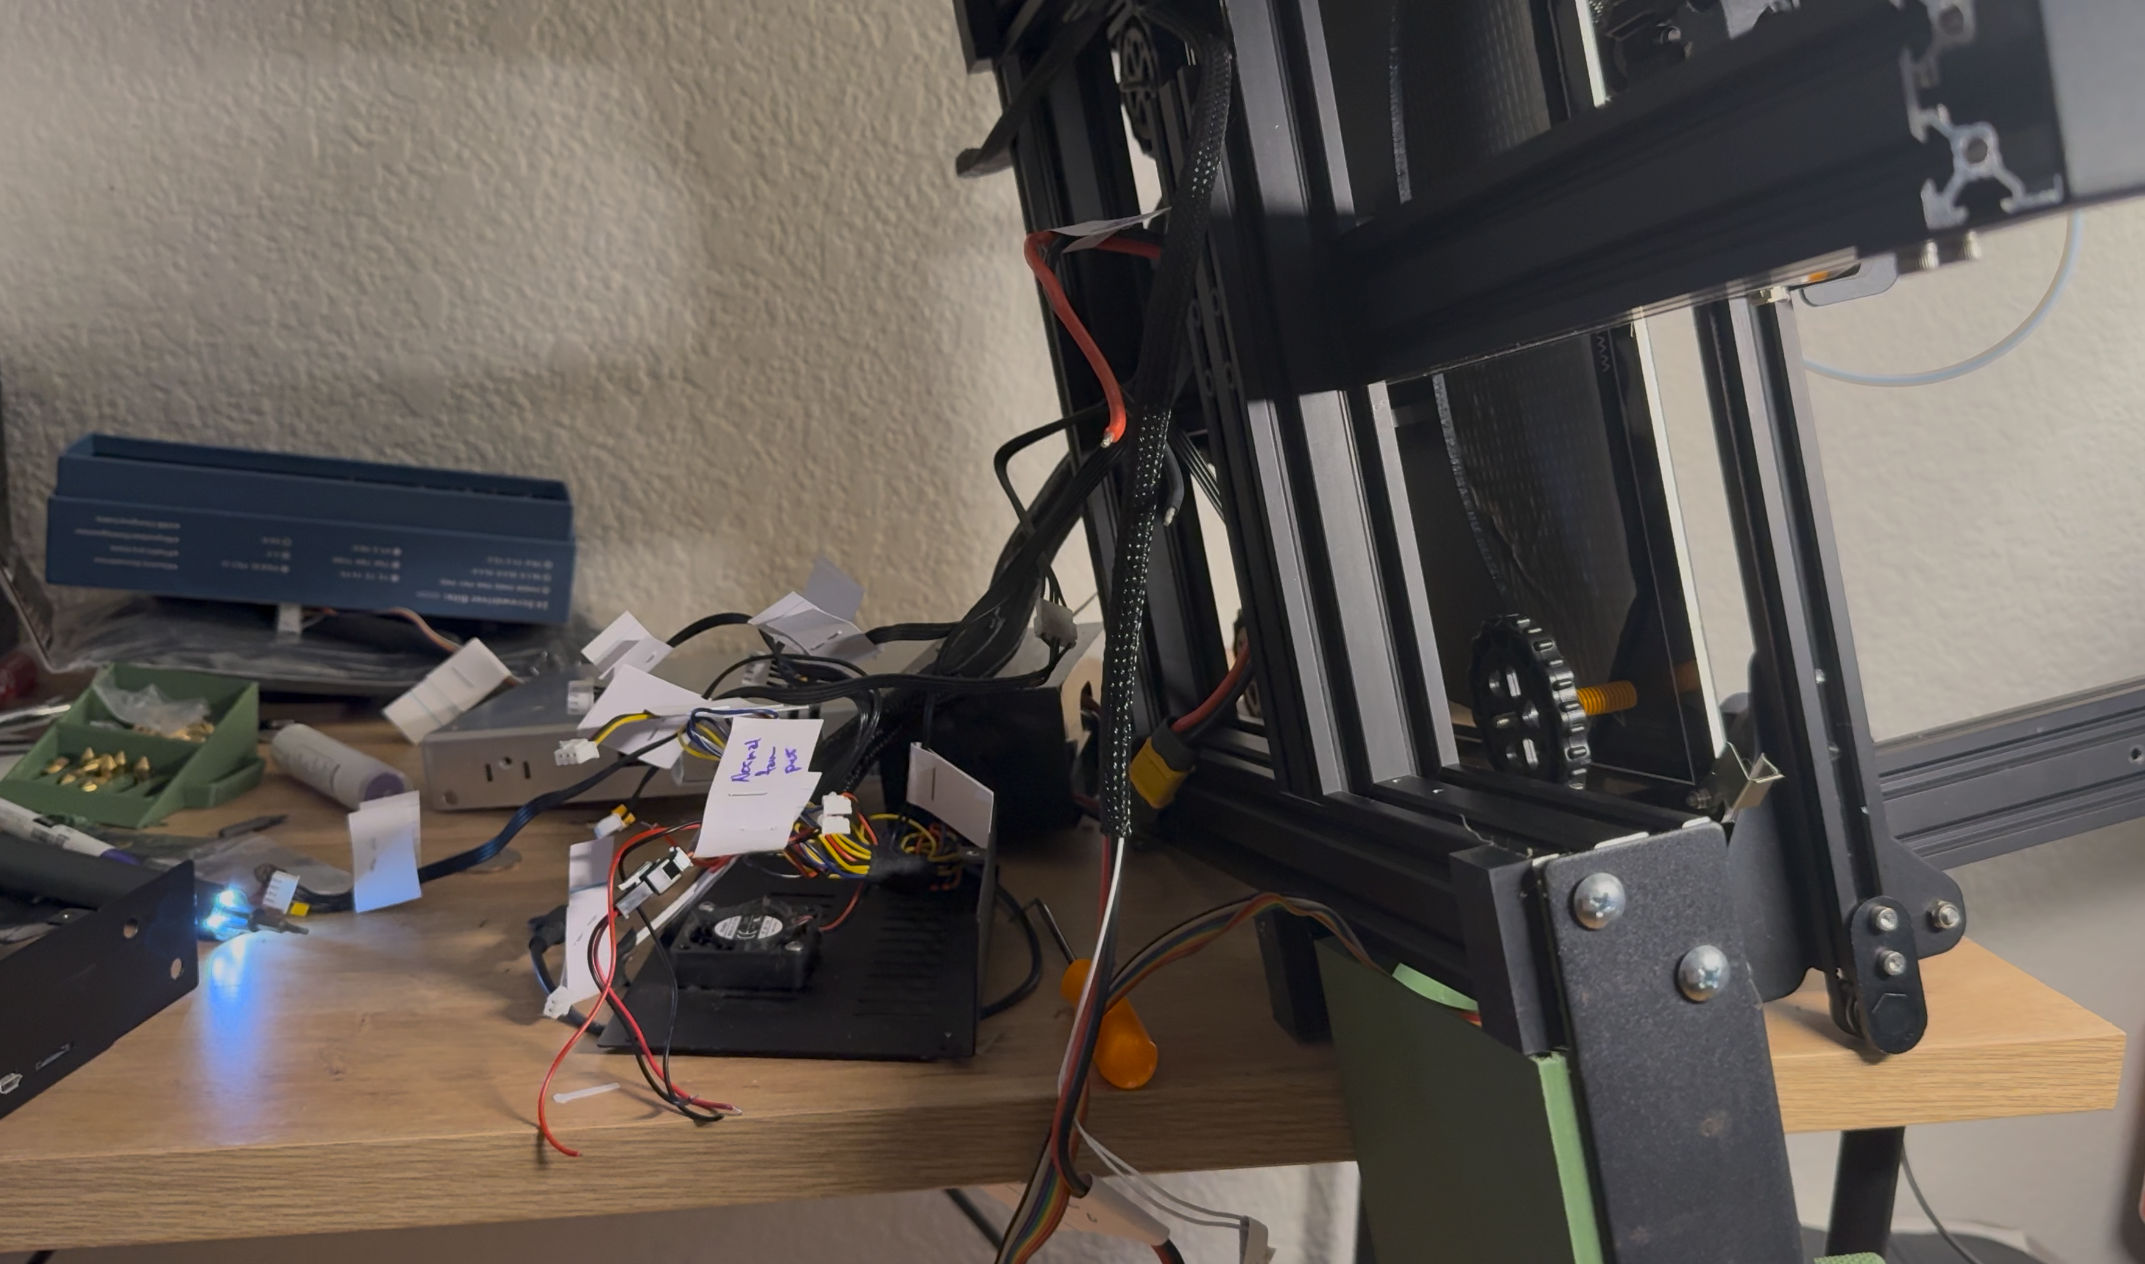
I started strong. The original wiring was done by my brother—not awful, but… very functional. So I carefully identified and labeled everything. I didn’t want to fully unwire things yet, and I knew the new wiring would be short—meaning I’d have to reuse (splice and crimp) existing cables.
So far so good.
I label, tear it down, find some YouTube videos, and get everything wired—including the new display.
And I get…
Nothing.Well—the display flashes, then either gets stuck or shows nothing.
This was infuriating.
I go over the install (never closed the enclosure—don’t do that until it works).Check connections. Make sure nothing’s mixed up.Check the display.
Then I panic—are the parts faulty?
After some Googling, Redditing, and YouTubing, I learn I need to modify firmware. Apparently the new board should come with something bootable (even if useless), and at the time I thought mine was defective.
So:
Find premade firmware → flash → nothingFind another → flash → nothing
rage = 1
for i in make_array(duration_before_critical_rage):
    new_firmware = find.firmware(marlin)
    flash.ender(new_firmware)
    if success:
        return feel_joy
    else:
        rage += 1
        if rage > 10:
            print("expletive")
There had to be at least 20 loops of this.
Then I think: what if it’s the display?
I dig through the scrap pile, pull out the old display—and I get a picture. Not much functionality, but it works.
So now I know—it’s a display issue.
- Check connections
- Try new connections
- Try other possible connections
- Try mixing connections
Then back to Google/Reddit/AI…
Running theory: mismatched firmware on the display. (Joy.)
I grab another SD card (not micro this time), hunt down firmware, try to flash it…
Nothing.
At this point, I’m over the display.
Decision: get the printer running first—table the display.
Swap back to the old one.
It works.
Not fancy—but honestly? I’ll live.
Now I have a display—but it only boots.
I go back into firmware hell. Pre-made firmware is miserable to work with.
Then I catch something interesting:
I can compile my own.
This is where things finally shift.
I compile something basic. Strip out unnecessary configs (no interest in my printer thinking it’s a CNC).
And…
- Motion works
- Hotend heats
We have success.
I loosely assemble everything and move on to the extruder.
disassemble the old extruder, grab the new one…
…and it doesn’t fit.
The filament tensioner is off.
Turns out:
- I picked a mount with extra support (good idea)
- But my extruder is a V2
- The mount is for V1
Also—the holes don’t line up (likely because I’m on the Max model—less common, fewer parts available).
Sit. Stare. Fume. Sleep.
Next day:
I come back and brute-force it.
- Drill out mounting holes (thankfully overbuilt, lots of plastic to work with)
- Trim support with pliers
- Heat up dental picks and melt custom holes where I need them
It’s janky.
It works.
(Later I jumped into Fusion to design my own mount—still WIP. Could’ve used Tinkercad, but I want to learn something more serious.)
Right now though:
I just need it to print well enough to print better parts.
Solid.
- Found placement for BLTouch
- Figured out fan layout
I have a plan.
Time to wire.
Lesson number 2
I mentioned earlier I needed to extend cables.
So I grab pliers, snip—
SPARK.
Always. Always always always check if the printer is powered on.
Hotend and thermistor lines are live (24V / 12V).
I got lucky:
- Insulated grips
- Didn’t shock myself
But sparks and smoke? Very real.
Thankfully—nothing seems damaged.
Power off.
- Wire extruder
- Wire fan
- Wire thermistor
- Install BLTouch
Boots fine. Firmware recognizes it. OctoPrint connects.
Probe self-tests—nice. Solid metal pin too.
I’m optimistic.
Then:
- Probe moves wrong direction
- Homing fails
- BLTouch does… nothing
Back to:
Google → Reddit → AI → terminal commands
Sensor readings are… not right.
Then I notice:
The new cable is different.
I had reused the old one.
Try the new cable.
Nothing.
Back to old one → wiggle → works (mostly).
Google again:
- New cable = configurable pins
- Old cable = idiot-proof
(I can confirm: idiot-proof matters.)
I try rearranging pins…
Wrong config.
BLTouch smokes.
Cool.
Good thing I still have the old one.
Where things stand
Everything is wired and functional (mostly).
Next steps:
- Clean cables
- Close enclosures
- Print better hardware
Current limitation
I have:
- Working extruder
- No part cooling
Luckily:
- Printing PETG → tolerates low cooling
- Can compensate with slower speeds
Half the printer is still exposed—but zip-tied enough to function.